At first, I considered modding directly my candidate PSU (a 500W Cooler Master unit, almost brand new). There are many tutorials about the procedure on youtube and other sites. For example, this video on the very interesting GreatScott! YT channel could be used as a starting point. There are many variations of this mod: some tutorials recommend dangerous practices, some projects do not make much sense (a Chinese bench PSU can be bough for under 50 EUR, it doesn't make a lot of sense to spend 20-30 EUR to mod an ATX with voltmeters, amperometers etc then) practically. The GreatScott! video is a minimal mod requiring very little additional components.
In the end I decided againts the procedure, the main reason being the fact that I'd like a fully reversible mod: I would like to be able to use the ATX PSU for testing motherboards from time to time, cutting the ATX connector and drilling holes goes a little bit against that.
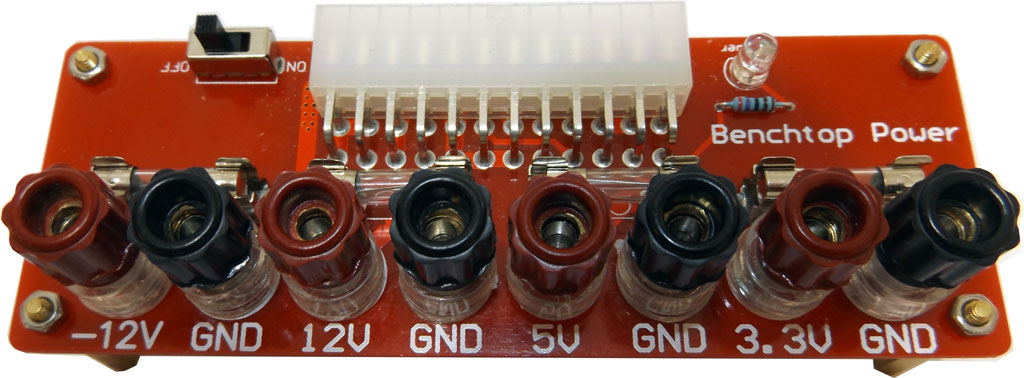
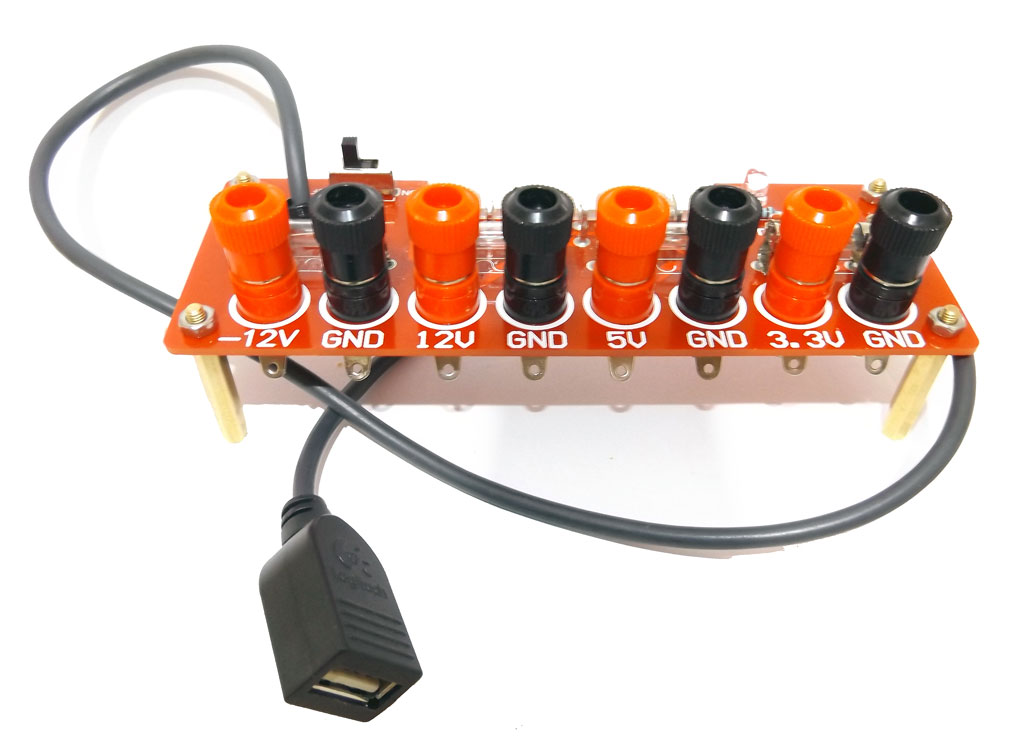
Enter the 'ATX breakout board'. A small circuit with an ATX female connector, a switch and some binding posts. The minimum required to turn on the PSU and use the four voltages in a circuit. I believe that the idea arose first in the open source hardware community. Anyway, nowadays one can buy a ready made circuit for less than 10 EUR. Just look for ATX breakout board on ebay or Amazon. First of all, let me say that the best available design overall it's not available ready made, but only in PCB form and/or in CAD files. It has been designed by an Italian, Francesco Truzzi and is described here. The board has everything, USB ports with recharging protocol support, variable voltage support, dummy load support, the works. Too much hassle though, so I decide to buy this model on Amazon. It sports long brass distancers and a separate ground binding post for every voltage, as well as the lowest price, over other designs, like the 'Seedstudio' board. Here's my untouched board:
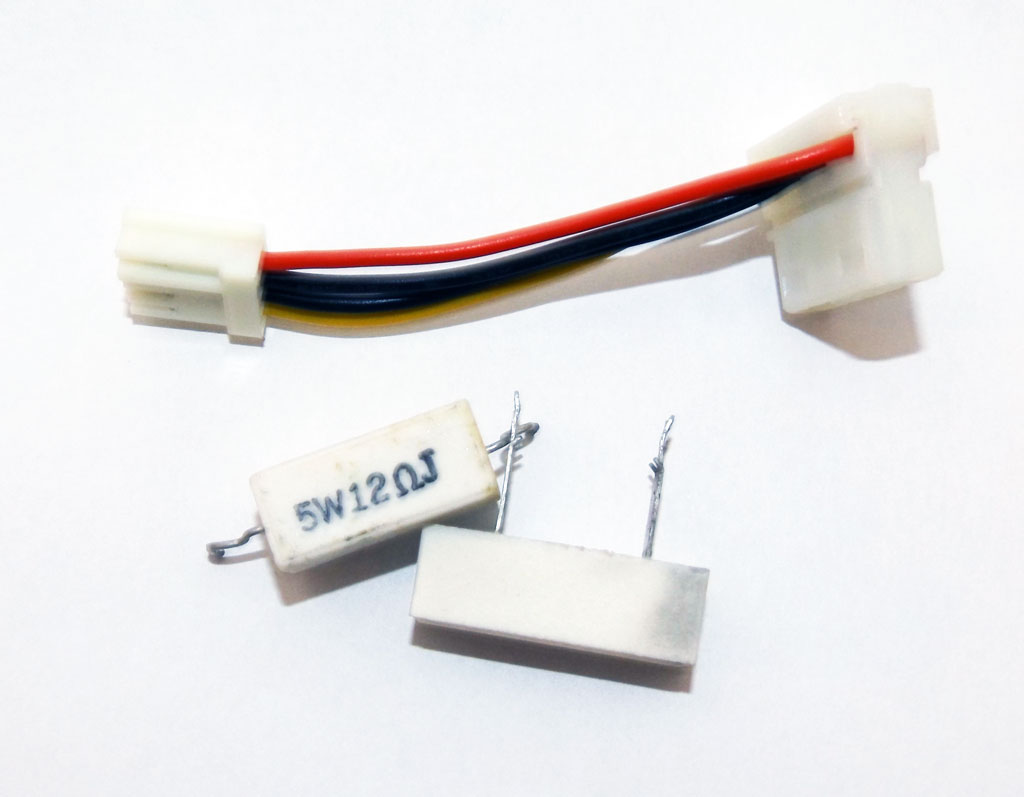
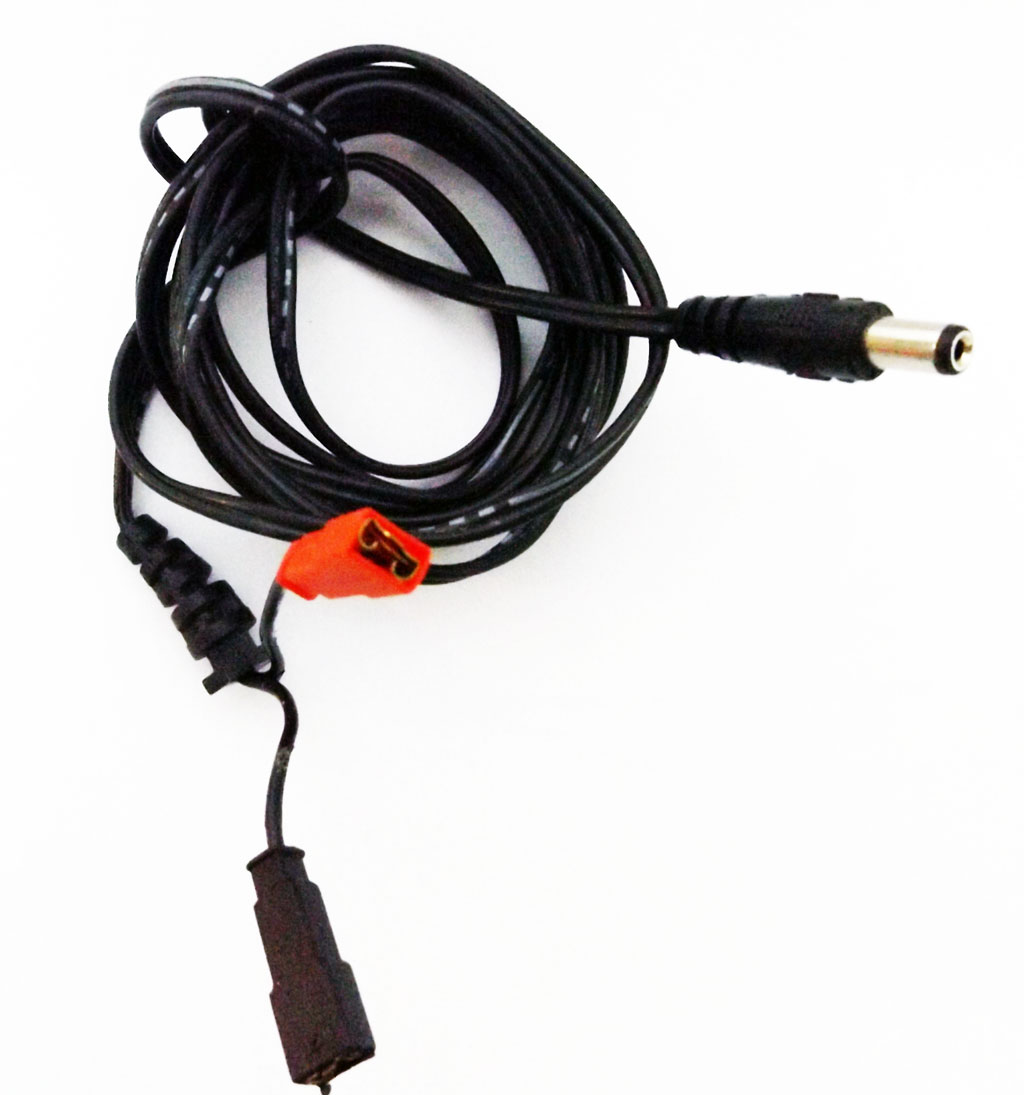
In comparison with other breakout boards this model lacks a dummy load resistor. Many ATX PSUs in fact do refuse to start if no load is connected to them. Usually a 10W 10 Ohm resistor connected to the +5V or the +12V rail will solve the problem. The best thing would be to load both rails. 10W power resistors are really the mininum for this kind of job. Other boards are usually shipped with a 10W white resistor to solder on specific holes already drilled on the PCB. On the other hand more recent PSUs start without a load with no problems. My unit does so, and there are no differences in measured voltages on the outputs with or without a load. I had planned to build a completely reversible, detachable dummy load recycling a 15 year old molex to floppy power cable and some scrounged power resistors:
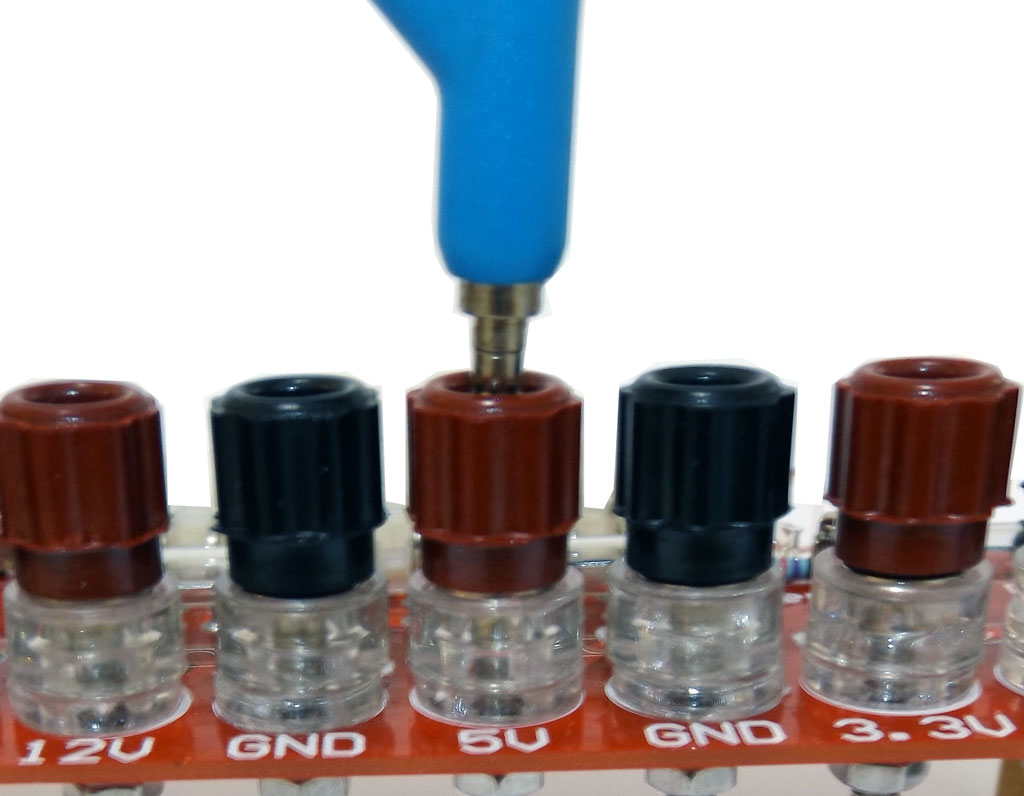
Back to our breakout board. One big problem is the binding posts. They do look like standard 4mm banana sockets, but 1) they are too short for a real banana plug 2) they don't even have holes to put wires into:
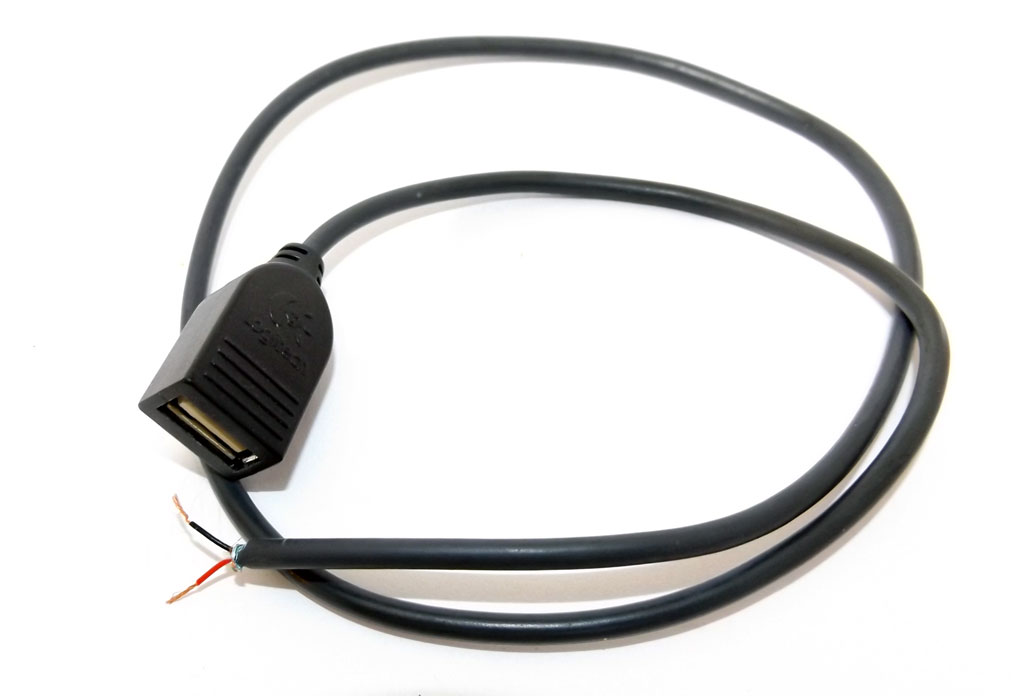

the cable to the hole with a couple small zip ties and shrunk the shrinking tube. Voilà, an USB power output. I've tried directly with a lot of devices (phones, e-readers etc) I had lying around - no problem. Even connecting an old 1.1 USB hub as a port mutiplier works, but I've the feeling that in this case the hub is limit the current output somehow.
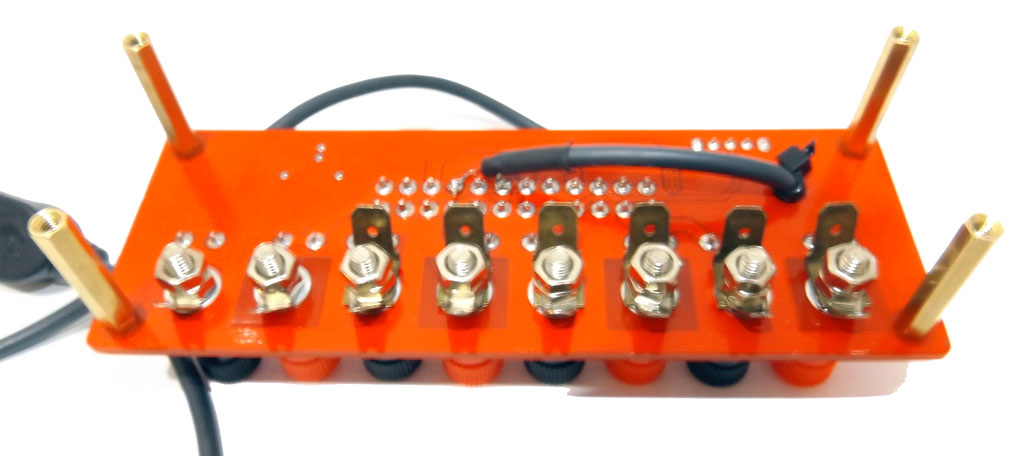
Here is the modified board from above, with the new binding posts:
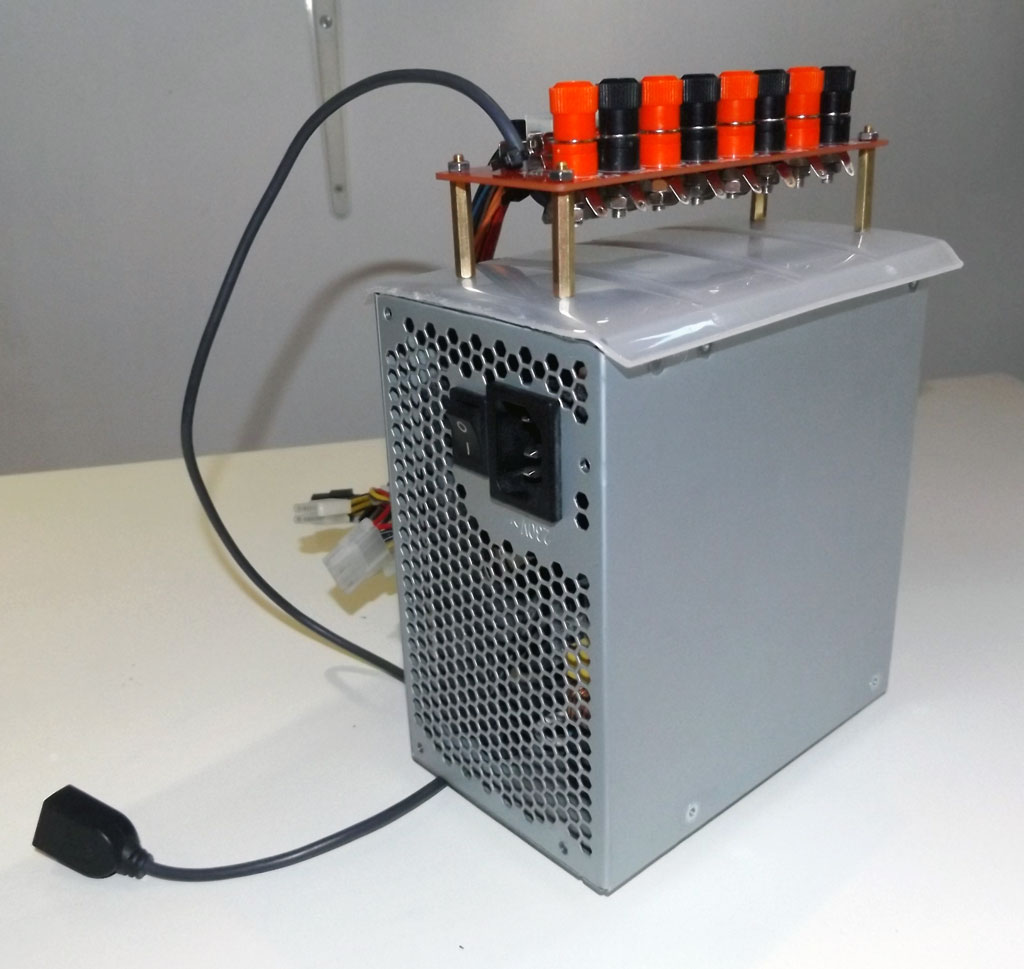
As a final touch, I looked in the kitchen. I found the cover of an old tupperware like box: it was more or less of the right size and was also conveniently convex. I sawed off the edges and drilled four holes to connect the brass posts. The fact that the cover is convex avoids the board standing on the M3 screws I used and allows for a better grip on the bench (or the ATX PSU) anyway.
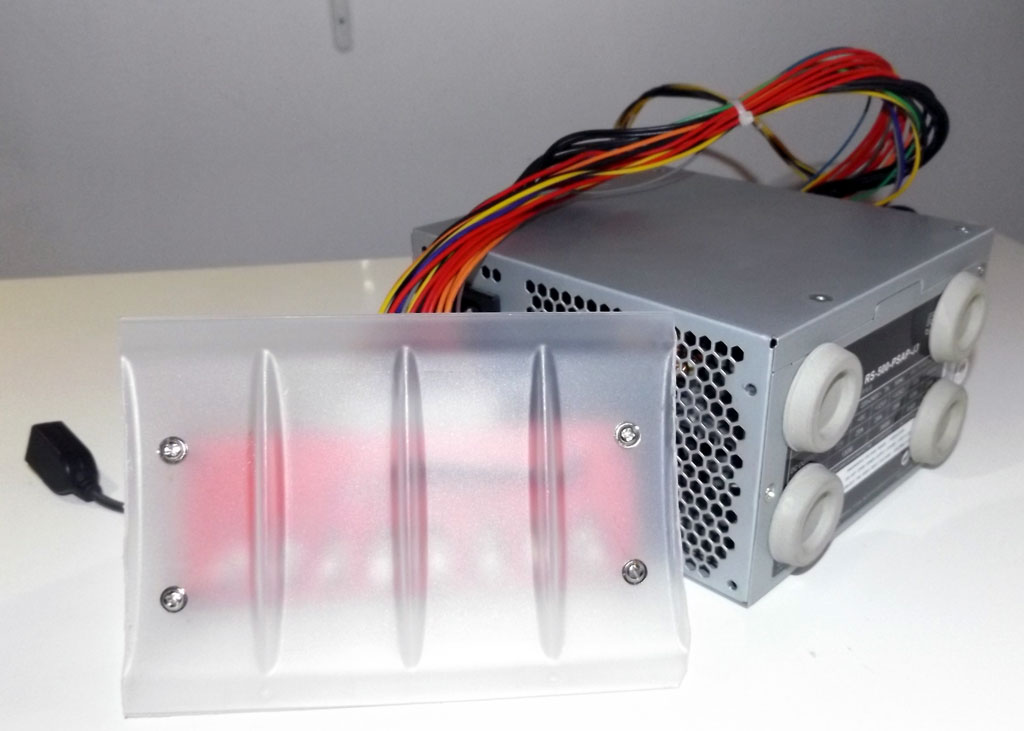
I also had some adhesive rubber feet from a long gone, 20 year old computer case. I put it on the back of the PSU to help it stand vertically. Here is the finished unit.
That's it. The next step would be to add a voltage regulator, something based on the LM317 (with low amperages) or LM350 (slightly more powerful). There are some ultra-cheap chinese kits, even with a voltmeter which could do the trick. We'll see...
Of course, if you want to get the board and modify it like I did, please make sure to know what you're doing and to take the necessary precautions when working with electrical devices and/or soldering equipment.
No comments:
Post a Comment